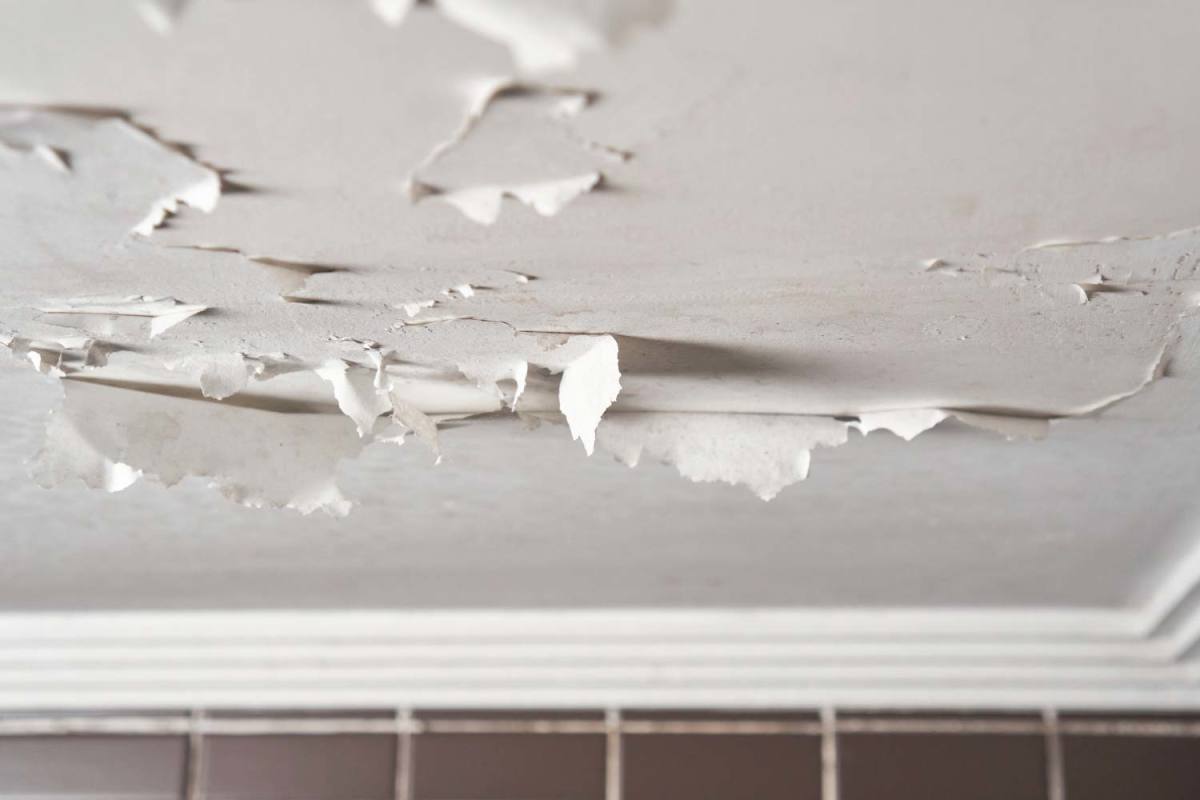
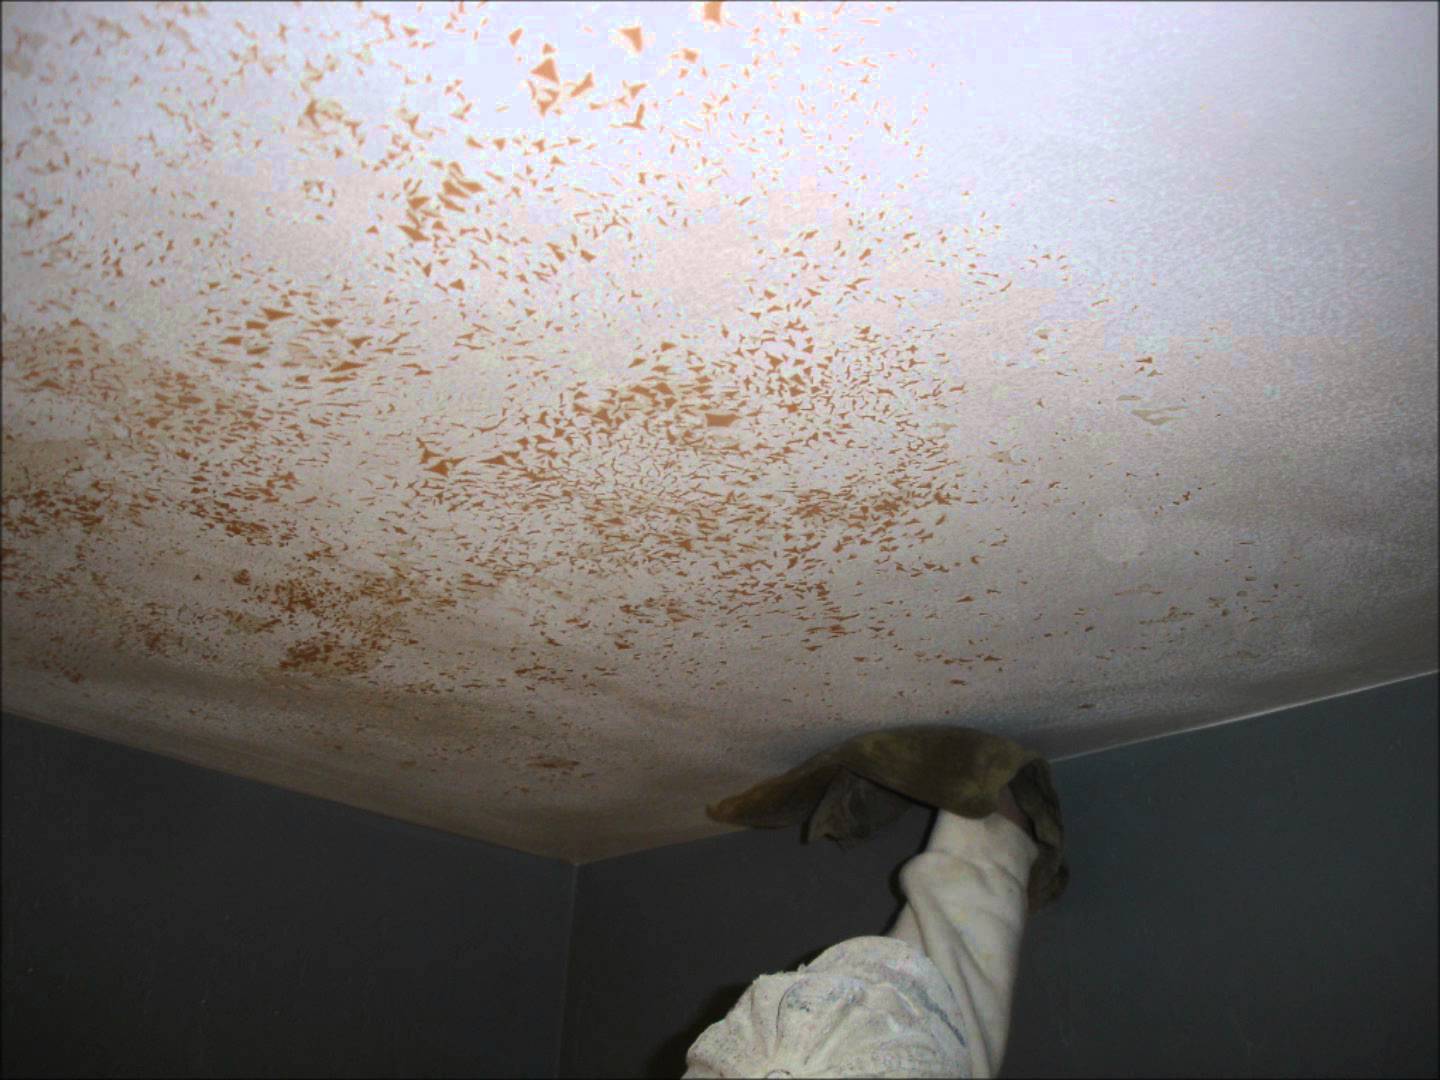
Preparing the Ceiling for Repair

Before you start repainting, it’s crucial to properly prepare the bathroom ceiling for a smooth and long-lasting finish. This involves removing loose paint, cleaning the surface, and patching any holes or cracks.
Removing Loose Paint
Removing loose paint is essential to prevent further peeling and ensure a clean surface for repainting.
- Use a scraper: A scraper is an effective tool for removing loose paint. Gently scrape the ceiling, applying pressure to remove the peeling paint without damaging the underlying surface.
- Utilize a putty knife: A putty knife can be used for removing stubborn paint. Insert the knife between the paint and the ceiling and gently pry it off. Be cautious not to scratch the surface.
- Employ a paint remover: Chemical paint removers can be used for stubborn paint. Apply the remover according to the manufacturer’s instructions, allowing it to soften the paint before scraping it off. Wear gloves and eye protection when using paint removers.
Cleaning the Ceiling
Cleaning the ceiling removes dust, dirt, and grease, creating a clean surface for repainting.
- Use a damp cloth: Wipe the ceiling with a damp cloth to remove dust and dirt. Avoid using excessive water, as it can damage the ceiling.
- Employ a mild detergent: If the ceiling is greasy, use a mild detergent mixed with water to clean the surface. Rinse the detergent thoroughly with clean water.
- Let the ceiling dry: Allow the ceiling to dry completely before proceeding to the next step.
Patching Holes and Cracks
Patching holes and cracks ensures a smooth and even surface for repainting.
- Use spackling paste: Spackling paste is a good option for filling small holes and cracks. Apply the paste with a putty knife, smoothing it out to create a level surface.
- Apply drywall compound: For larger holes and cracks, use drywall compound. Apply the compound in layers, allowing each layer to dry before applying the next.
- Sand the patched areas: Once the patching compound is dry, sand the patched areas smooth using fine-grit sandpaper. This ensures a smooth surface for repainting.
Applying New Paint: How To Fix Bathroom Ceiling Paint Peeling

Applying a fresh coat of paint is the final step in fixing a peeling bathroom ceiling. This step is crucial because it not only restores the aesthetic appeal of the ceiling but also protects it from future damage. Using the right primer and applying the paint correctly will ensure a durable and long-lasting finish.
Choosing the Right Primer
Primers are essential for creating a smooth and even surface for the paint to adhere to. In a bathroom, where moisture is a constant concern, using a primer specifically designed for damp areas is crucial. These primers are formulated to prevent mold and mildew growth, which can cause the paint to peel again.
Applying New Paint
Applying new paint to the ceiling requires a systematic approach to ensure a smooth and even finish.
Preparing for Painting
- Ensure the room is well-ventilated to prevent paint fumes from accumulating. Open windows and doors for adequate airflow.
- Protect furniture and floors with drop cloths or plastic sheeting to prevent paint splatters.
- Use painter’s tape to mask off areas you don’t want to paint, such as trim, moldings, and light fixtures.
Applying the Paint
- Use a high-quality paintbrush or roller designed for ceilings. A roller with a nap length of 1/4 inch to 3/8 inch is ideal for most bathroom ceilings.
- Load the brush or roller with paint, but avoid overloading it. Excess paint can drip and create uneven coverage.
- Start painting in the corner of the ceiling and work your way across. Use smooth, even strokes to apply the paint.
- Overlap each stroke by about 1/2 inch to ensure complete coverage and prevent streaks.
- After the first coat dries, apply a second coat for a more durable and even finish. Allow the first coat to dry completely before applying the second coat.
Drying Time and Ventilation, How to fix bathroom ceiling paint peeling
After applying the paint, proper drying time and ventilation are essential.
- Allow the paint to dry completely before using the bathroom. Drying time varies depending on the type of paint and the humidity level. Refer to the paint manufacturer’s instructions for specific drying times.
- Ensure adequate ventilation during the drying process. Open windows and doors to allow fresh air to circulate. This helps the paint to dry evenly and prevents the buildup of paint fumes.
How to fix bathroom ceiling paint peeling – Fixing peeling bathroom ceiling paint often involves addressing the underlying cause, which could be moisture buildup leading to mold growth. To effectively combat mold, you’ll need a specialized paint designed to inhibit its growth and prevent future outbreaks. Check out this guide on the best paint to cover mold in bathroom to ensure your ceiling is not only aesthetically pleasing but also protected from future issues.
Once the mold is eradicated and the ceiling is properly prepped, you can apply a fresh coat of paint to restore its original look.
Fixing peeling bathroom ceiling paint often involves addressing moisture issues. First, you’ll need to determine the source of the moisture, which could be leaks, condensation, or poor ventilation. If you’re dealing with persistent peeling, it’s important to understand why the paint keeps peeling in the first place, as explained in this article about bathroom paint keeps peeling.
Once you’ve addressed the moisture problem, you can scrape off the loose paint, clean the surface, and apply a moisture-resistant primer before repainting.